


1
2
3
4
5

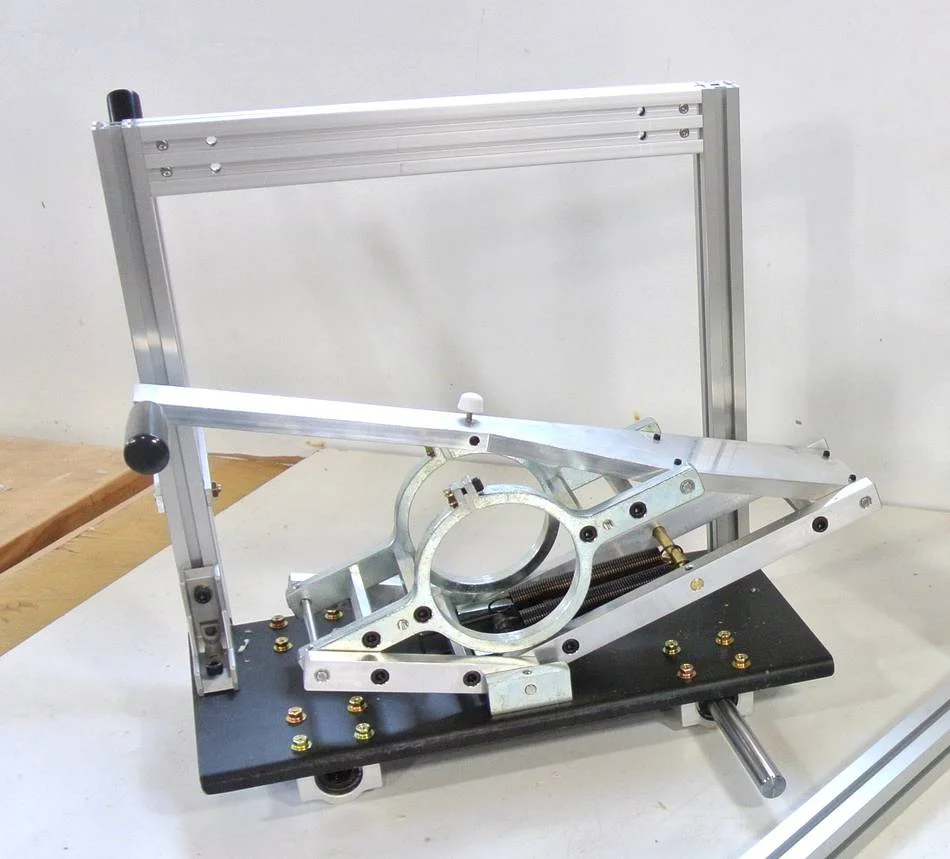
The plunge carriage comes mostly pre-assembled. However, you will need to assemble and install the template holder on the carriage.
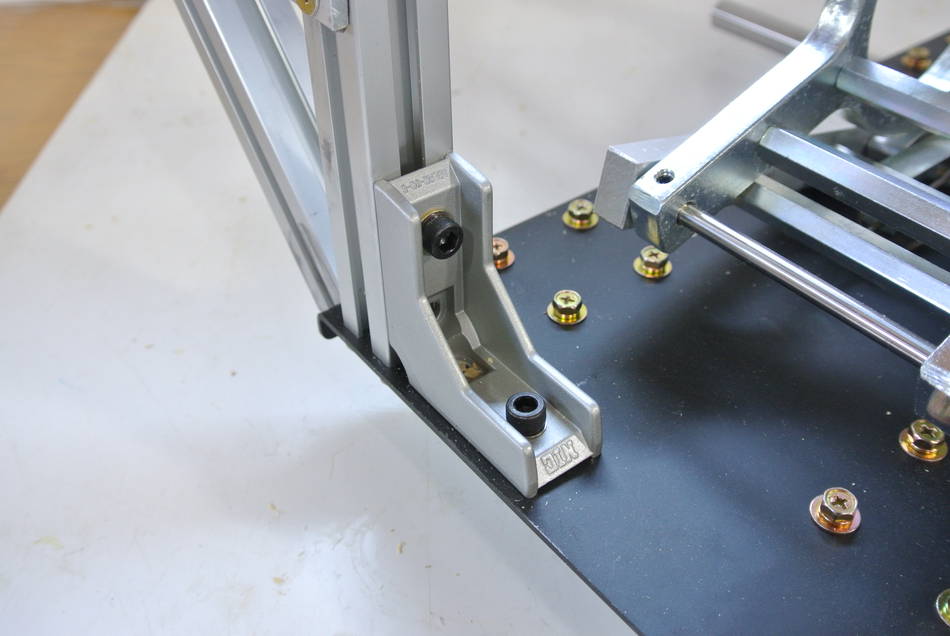
Mount the vertical parts of the template holder to the metal base with four screws. Be careful inserting these screws, it's easy to get them cross threaded. It's advisable to use a regular screwdriver so you can tell if they are cross-threaded.
Install an angle brace on the plunge lever side. Slide a square nut into the channel to screw the angle brace into.
Then slide the cross piece into the uprights.
The cross piece has two fasteners on each end for attaching to the rail. You may need to use a screwdriver to lightly push them outwards as you slide the crosspiece in. You may also need to loosen the screws holding these fasteners to get them in.
Lock the cross piece in place by tightening the screws in the side of the crosspiece with an Allen key.
There are some springs in the pantograph mechanism to help hold up the router. It's easiest if you leave these unhooked until the rest of the machine is assembled so that the pantograph lies flat and does not push itself upwards.
Distributor for the Americas
Portland, Oregon
p. (877) 333-7150
e. info@pantorouter.com